How to Explain 3D Shapes to Kindergarten
People often wonder how to explain 3D shapes to kindergarten (especially when they have to be able to tell the difference between 2D and 3D shapes). Let me share my favorite way of doing this.

If you’re looking for how to explain 2D shapes to kindergarten then you should check out these awesome ideas below because the best way to explain 2D shapes to kindergarten is to describe 2D shapes by their features.
- 27 Creative Ways to Make Teaching 2D Shapes Happen
- Teach: How To Draw 2D Shapes in Kindergarten
- Activities and Videos to Teach 2D Shapes
The main thing I like to cover, when explaining 3D shapes to kindergarten, is the missing/added dimension.
Let me back up by sharing that when we explain what 2D shapes are to our students – we do so by describing the features of each shape: sides, vertices (corners).
When it comes to teaching 3D shapes, we use what we know about those 2D shapes and add in the concept of flat vs. solid shapes. I personally used hand motions and a chant to explain that 2D shapes are flat and 3D shapes are solid.
Modeling What Makes a 3D Shape
Hand Motions
I’ll start by sharing my hand motions with you and do my best to describe them.
Let’s use an example. Here’s how I liked to use motions to explain the difference between a circle and a sphere:
- Put your hands together like you have a circle pancake in between.
- Then hold your hands up to your mouth as if to blow air into the circle (adding the dimension of filling up space) and curl your fingers as you blow… forming a sphere with your hands.
- The flat circle now has become a solid sphere like a balloon.
I mimic the same motions holding a flat square and blowing air into it to create a cube – all just using my hands. You can then flatten or “squash” the imaginary 3D shape and turn it back into a 2D shape to reinforce the concept. I have my students model after me.
To explain what a cylinder is, I like to explain that it’s a circle that has been streeeeeetched out. I form a circle with one hand and pretend like I’m pulling the edges out (keeping my pulling hand in a “c” shape) – creating an imaginary circle – the body of the cylinder.
You can do the same with a pyramid – its just a triangle being streeeeeeeeetched into a point. Your fingertips can pull the corners of the triangle and as you stretch them away from the triangle your fingertips are pinching closed.

Quick Change
Another way to explain 3D shapes is to model the added dimension by doing a quick change scenario. This is simply a quick little demonstration you can incorporate into any lesson.
Hold up a square in one hand – blowing onto it.
Make it disappear behind your back {presto-chango} with a lot of dramatic flair and pop up a cube in your other hand that was hidden behind your back all along. {oooooh aaaaahhhh}
Either way, using hand motions or doing the quick change, by showing the relationship between the two shapes you are making it easier to learn how to describe 3D shapes using the shapes your students are already familiar with.
3D Shapes Chant
I mentioned that I also like to use a chant to explain 3D shapes. I used it a lot.
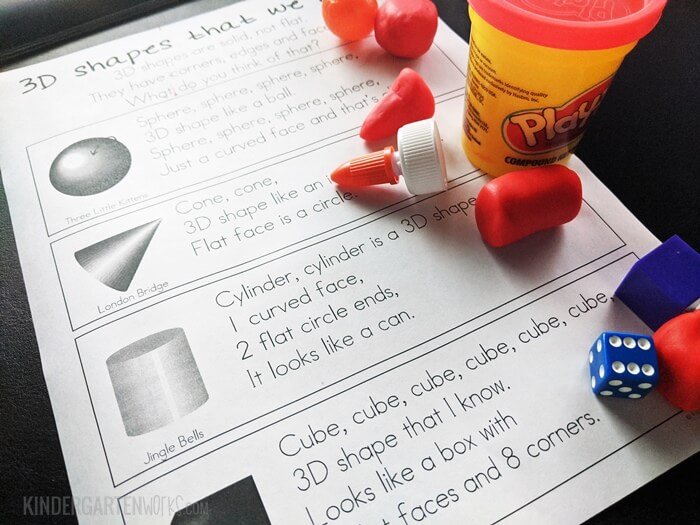
It goes like this, “3D shapes are solid, not flat. They have corners, edges and faces. What do you think of that?”
Using the chant was a quick way to introduce and review the vocabulary: solid, flat, corners, faces and edges. It went a long way (when we used it repetitively) to help us learn how to describe the features of 3D shapes.
When you say the chant, make make hand motions a part of it. This gets you more bang for your teaching moment.
- Make a sphere for “solid” and then clap hands like you’re collapsing the sphere into a flat circle on “flat.”
- Point to an imaginary corner (like on a cube, for example) when you say “corners.”
- Make a pinched set of two fingers slide straight down when you say “edges” (as if you were running your finger down the edge of that cube).
- Make a flat hand run down the front of the imaginary cube when you say “faces.”
- Shrug both shoulders with hands in the air when you say “What do you think of that?”
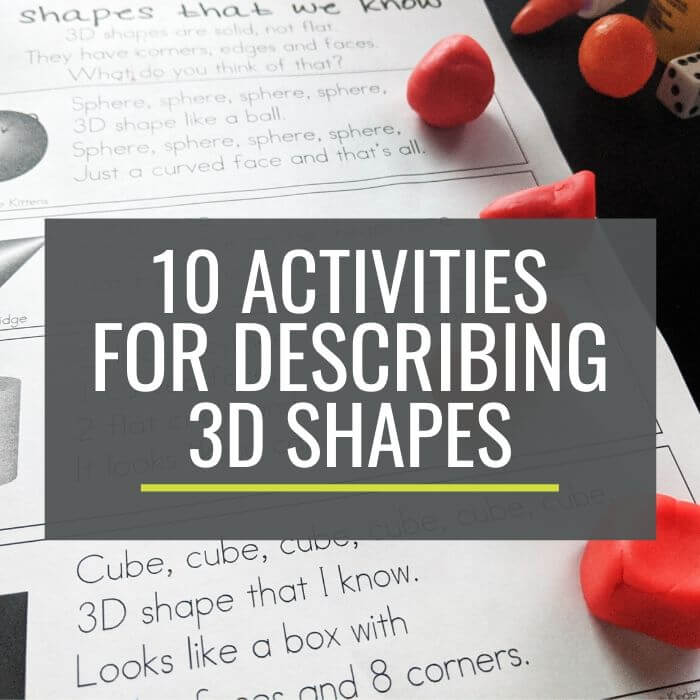
Plus, you’ll notice I also use songs to teach how to describe each of the 3D shapes we were required to know. For this printable and more on describing shapes, you’ll want to check out these 10 Activities for Describing 3D Shapes in Kindergarten.
There you have my favorite ways of explaining 3D shapes to kindergarten. Key in on the missing/added dimension and use what they already know about 2D shapes.
If you like what I do here on KindergartenWorks, then be sure to subscribe today. I look forward to sharing ideas with you weekly.