How To Create Guided Math Lessons in Kindergarten
Guided math lessons in kindergarten can be easier if you set up a lesson plan format to follow. Let’s learn how to set up an easy-to-use format so you can create guided math lessons successfully.
In kindergarten, guided math means that I’m teaching math lessons to small groups of students while the rest of the class is learning independently.
This may mean that I have a lesson plan per small group to create.
But before we throw up our hands and claim that it’s “too much work” to create more lesson plans in order to reach multiple levels of students – let me share a lesson plan format with you that makes planning for multiple groups easier and not necessarily more work.
If you’re new to guided math, you may want to read How to start guided math first.
Break down your instructional time into 3 parts
Let’s break down the time you have to teach your small group of students into three parts.
We’ll start with a warm-up activity, have a main lesson and finish off with a wrap-up task or activity.
These are meant to give you flexibility as the teacher to get in more content and allow you to teach all that you need to.
The three parts of your time with a small group do not all have to be on the same standard. They can be, but it’s not needed.
If you can plug in a lesson idea, activity or exploration task into each part of the time you have with a group, you’re set to go! It makes lesson planning so much easier.
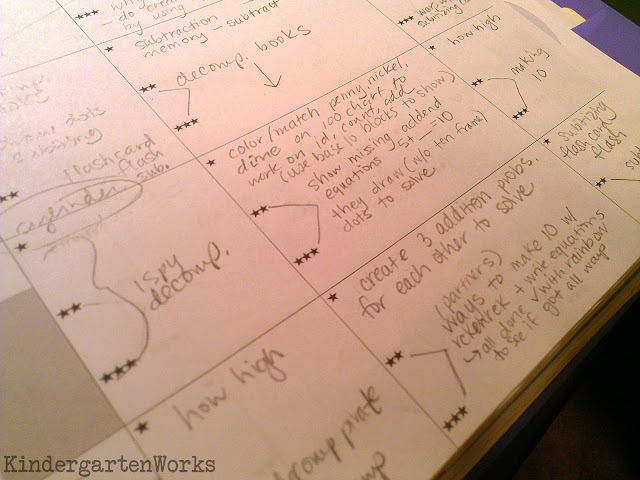
Let’s look at each part and see what you can plug into these times to make your time with each group successful.
Warm-up
Think of the warm-up as an activity or task that the students can do to get started learning – almost without you.
When you’re teaching math in small groups, often you may need to finish directing another child, tie someone’s shoe or handle a distraction before you can settle in to actually start teaching the small group of students in front of you.
The way around just making them sit and wait for you is to create a warm-up activity.
Set up an activity that they can start doing independently and you can slide in and join them just shortly thereafter.
You can change the activity, after a while, to something new but always pick something basic that they can start without you.
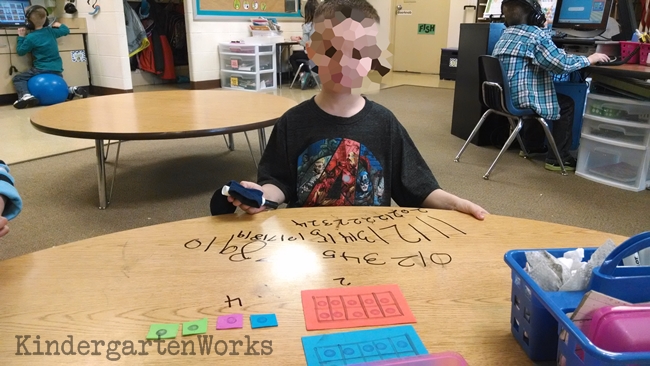
Here are some ideas:
- Write their numbers in order on the table using dry-erase markers and baby socks for erasers to see how high they can get before you call “Time!” but also get interrupted by counting aloud for you to 30 one-on-one (so you can assess them) while the others are still working
- Start counting to 100, touching each number on their individual counting chart workmat. Then go through a page or two of math workmats as a group (once the teacher joins) in to build up fluency for naming 3D shapes, counting to 100 or tracing numbers 11-20 when called out.
- Play flashcard flash with a partner – using their own set of flashcards
This is also a great time to cover “fluffy” standards that don’t need as much time or focus to master. (I’m thinking of you 2D shapes)
A warm-up could be 5-10 minutes long. You can pretty much just call time and move right into your main lesson.
How to differentiate
These warm-ups are relatively easy to adapt to different group levels.
In most cases, you don’t have to plan an entirely different activity or task for each group. Adjust the number range, amount of support materials or expectation to differentiate your warm-up activity.
Higher students could have to start writing at a number you have left on the table… say 57. Or they have to count backwards from 100 using the counting chart… or count to 100 first and then count by tens starting at 3. Their flashcards could be a higher range of numbers than your other groups are using.
Lower students could have access to a number line, or ten frames to help them build numbers and then write them. They could use a dry erase marker to color in how high they counted before needing to start over and try again to get closer to 100. Their flashcards could be a lower range of numbers than your other groups are using.
Keep lesson materials that are specific to each group (like flashcard sets) in a basket nearby with their group name(s) so they can get materials without you.
Leave materials out on the table that are not specific to each group (like your dry erase markers, baby sock erasers, and workmats) so they can get started without you.
Main lesson
The biggest chunk of time you set will be for your main lesson.
This is where you want to dig deep and spend time.
You’ll be:
- talking a little
- asking questions often
- listening a lot
- and watching even more
Teach the standards that make the biggest impact on creating mathematical thinkers.
For us this meant we were usually focused on:
- Composing and decomposing numbers 11-19 (and beyond) using tens and ones
- Making 5 and 10
- Subitizing numbers 1-9 (especially 1-5)
Sometimes this part of your lesson time will be a game, an exploration or a task.
Example: use a math game to develop subtraction strategies >>
Example: use exploration to find out why teen numbers start with a 1 >>
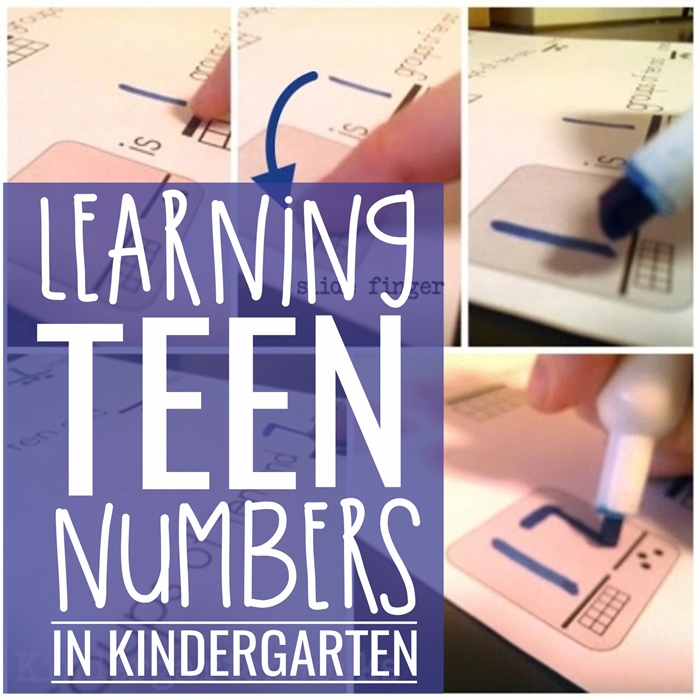
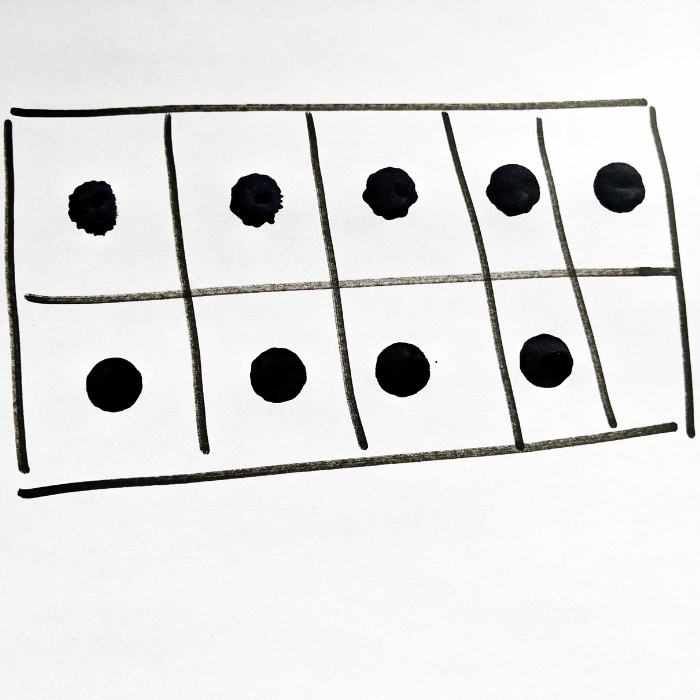
Example: Create ten frame flashcards to make teen numbers as a task. Use them later in subsequent lessons.
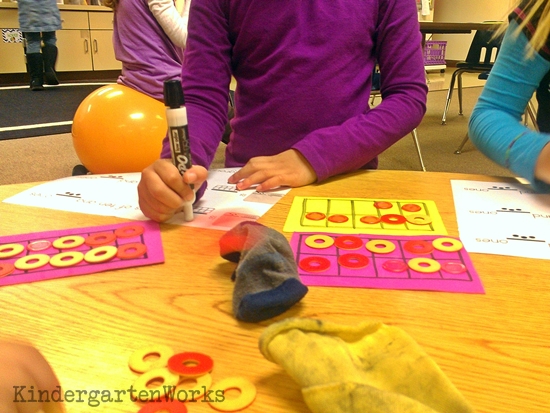
Whatever you choose, focus on mastering the standards or going above and beyond the standards with advanced students.
How to differentiate
To differentiate what you do with your groups, you’ll want to think about the amount of support you give, the number range students are working with and the expectations.
You may need to alter or completely change those for each group.
You have the flexibility to do that to meet their needs.
Wrap-up
Think of the wrap-up as an activity or task that closes out your time together that capitalizes on the small audience you have in front of you.
Here are some ideas:
- learn a new activity that will be in the games and activities center (the practice zone)
- explain the new warm-up activity (for the next time they come to the teacher zone)
- play a quick game to review a previously learned concept
Before you transition to see another group or end math for the day, use this time to quickly hit something that extends their time with you.
And if you don’t use the wrap-up every day – that’s okay. It’s your classroom. Sometimes we ran out of time and I didn’t get to what I had planned for it.
Conclusion
When it comes to planning guided math lessons it can be easier if you set up a lesson plan format to follow. Hopefully, you can use this three-part plan as your easy-to-use format so you can create guided math lessons successfully.
Remember what we’re going for:
- Have a good chunk of time to dig deep in the main lesson, explore, make mistakes and talk through what we’re learning
- Have a little time to cover more basic “fluffy” stuff or have time to teach a new related game or activity students will use independently
Want to see a sample guided math group with all three parts?
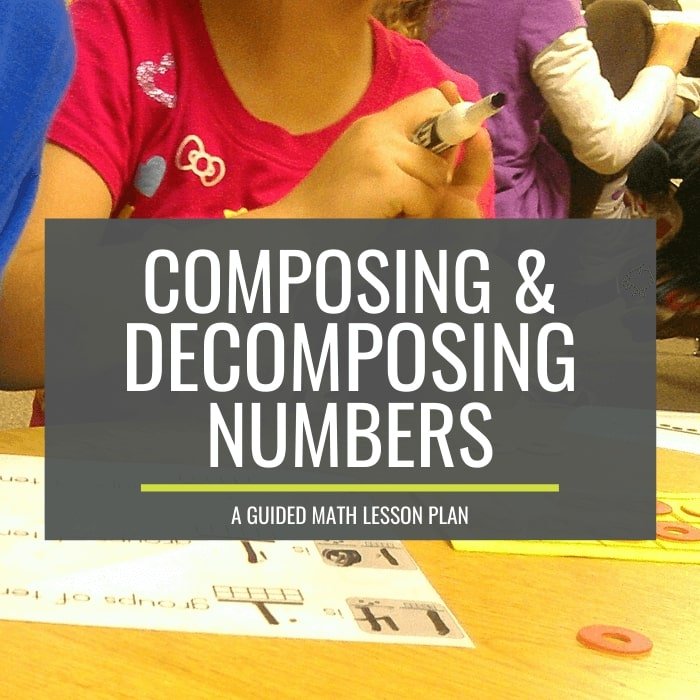
Continue reading: Composing and decomposing numbers: a guided math lesson plan flow >>

