
Creating an Organized Guided Reading Binder – 4 Steps
A guided reading binder helps me keep lesson plans and guided reading group notes both organized and at my fingertips. Here’s how to create a guided reading binder in 4 steps and keep it organized with 6 simple recommendations.

I hope you find these tips helpful as you teach your guided reading groups.
Create Your Guided Reading Binder
1. Select a binder
Choose one that’s not too bulky if you’ll need to move it at all during the day or to transport home.

I find that a 2″ binder with a clear-view front cover and inside pockets is just perfect. I’ve also made it work with a 1.5″!
2. Choose a front cover
Making your binder look presentable is all about giving you peace of mind. Close it up and instantly clutter disappears.
It’s the simple things that count, plus if you have multiple lesson planning binders I’d recommend using different color binders that go together and choose covers that can bring them all together.

Right now, I’m still a chevron girl and it pulls my purple, pink and green binders together that I use in reading, math and weekly lesson plans.
You may like this Superpower cover, chalkboard cover, pop of color cover or neon fresh binder cover that are free downloads.
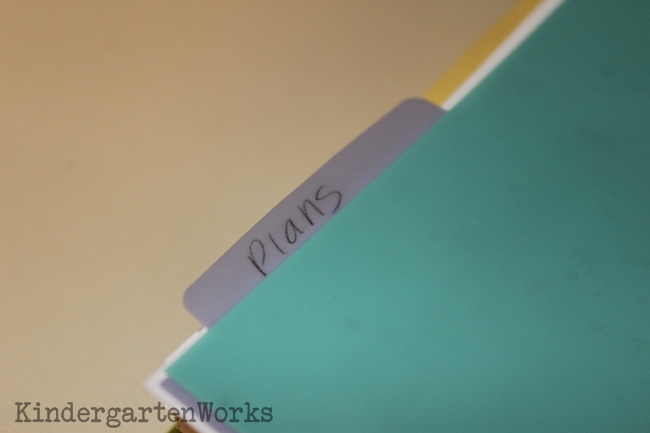
3. Select dividers that fit your needs
What do you need?
Pockets? Erasable tabs for use each year? Tab for groups and for each student?
If you’ve never created a binder before, then start small.
Don’t create a tab for each child unless you absolutely plan on tracking something or writing down something in that child’s section regularly and that it’s feasible for you to do so. It’ll just be more work to create and if you don’t use it you might end up feeling guilty for neglecting to be so specific when in reality you don’t need to.
I used to use a tab along the top edge for each group and then a side tab for each child when I used running records to help me determine student reading levels.
I placed each student’s papers and divider behind their group tab. Now I only have a tab for each group.
I love using (affiliate) dividers with erasable tabs!
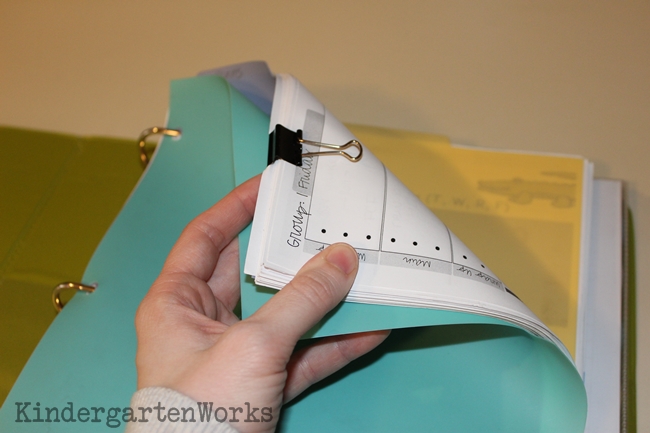
I’m a fan of using binder clips to hold open the divider to today’s lesson plans. A simple flip of the paper and we’re there!
4. Pick your lesson planning template
Decide if you’re a computer person who will type them out or a handwritten person who will jot down on a pre-printed template.
I like using a computer template and printing copies to handwrite in each week.

Where will your lesson plans live? In the front of your binder? At the front of each group’s section?
Check out my lesson plan templates that I’ve used over the years in more detail in the next section.
>> Continue Reading: Organizing Your Binder >>
If you like what I do here on KindergartenWorks, then be sure to subscribe today. I look forward to sharing ideas with you weekly.


Thanks for all of this! Have you discovered a quick way to see who has read which book in a group with you? Once kids start moving around to different levels, I find it really hard to keep track who has read what with whom. HELP! I have it all written down, of course, but when the groups change, that’s when I lose it.
Hi Mrs. W., In this case, staple a log for each student onto the back of the child’s individual divider. That way when you flip open to their name, their books are all at a glance (on the left hand side of your binder) and you can add to it, but then you aren’t flipping any additional paper since it’s essentially stuck to the divider. Then when you reshuffle groups, reshuffle their individual dividers behind their group’s tab and you’ll still keep them all together. Hope this can help because I’ve been there!
– Leslie
Perfect! I’ll give that a try. The management and paperwork related to GR gets a little overwhelming, doesn’t it?! Many thanks for all your great ideas!