Organizing Your Guided Reading Binder – 6 Simple Ways
My guided reading binder needs to be organized in order for me to grab lesson plans and take guided reading group notes in seconds. We’ve just looked at 4 steps to create a guided reading binder – now let’s keep it organized with these 6 simple recommendations.

With these 10 tips combined, I hope that you feel a little more empowered to teach in a way that really works for you!
Organizing Your Binder
1. Keep a calculator velcroed into your binder
Also velcro in a pen or highlighter too. You’ll love not searching for any of those items when you need it and it’s easy for moving around the classroom.
2. Print your lesson plans front to back to save on space
Use a binder clip to hold open the divider to today’s lesson plan page so when you flip to the group, it opens up right to your plans.
When it starts to get full – take out a chunk of old plans and store them until the end of the year or run it through the scanning function on your school copy machine and email the completed pdf to yourself.
It’s how I’ve gone from keeping hard copies of anything to now having everything only a click away. Goodbye days of storing files in filing cabinets.
3. Keep only the essential copies in the back
If you’re taking running records as your main form of documentation, then keep a few blank copies always at the back so you can grab one.
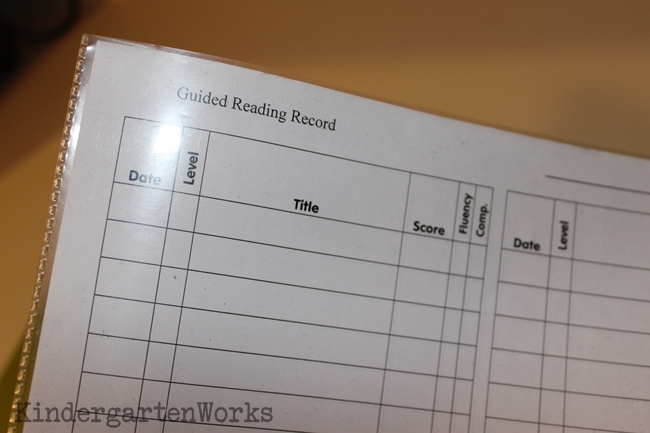
Then jot down their score in their log and you’re good to go.
4. Give yourself room to write
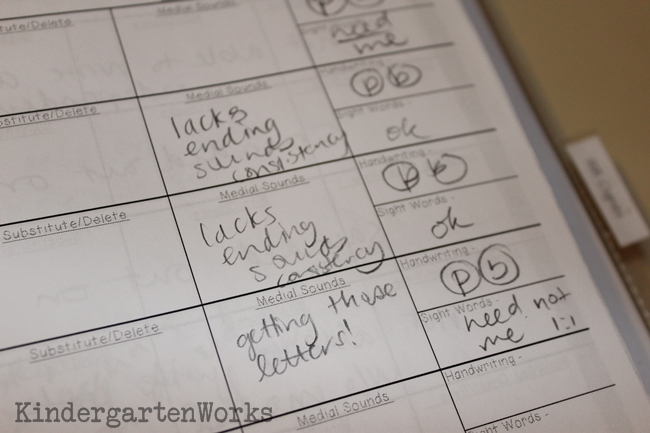
If you prefer using anecdotal notes about what takes place during group reading sessions, which is now what I do, then be sure to give yourself plenty of space to write.
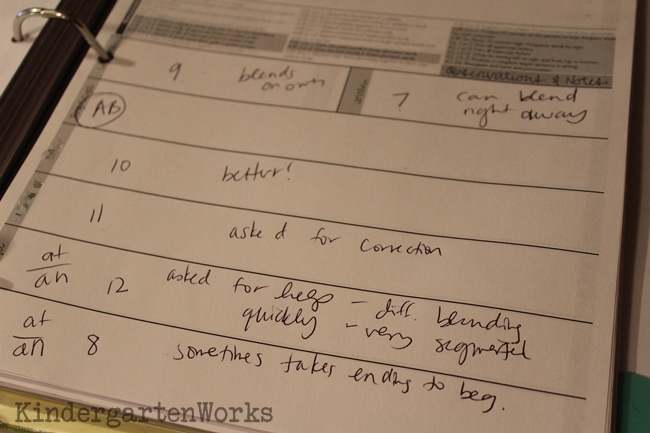
Not that you may write a lot, but so that you can have space to write quickly and simply jot.
Why?
If you’re like me, my focus is on my students, not how neat my handwriting is… so I write fast, messy and often in abbreviations so that I can return my attention to the 6 {and sometimes 8} kinders in front of me.
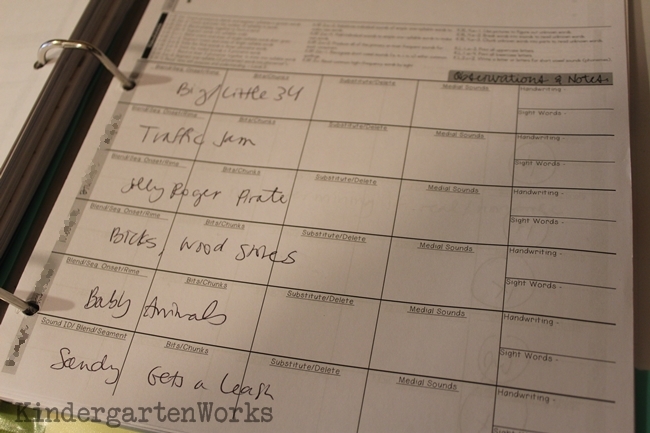
Use these notes to help plan the next few following lessons, tweak tomorrow’s lesson or really pinpoint what a student needs to be successful.
I use this method especially to help me keep up with assessments, pinpoint small areas to progress and track strategies I need to reinforce.
5. When you can, build it in!
Since I’m a fan of working smart, I often try to find ways of doing things once that will last a long time. Let’s apply this to the guided reading binder.
I like to create a template for each quarter of school, since that is where I will focus my instruction… on the standards that connect with the quarter we’re in. I try to pre-fill out my lesson plan templates with the day of the week, the standards or areas we might work on and the names of my students in the group.
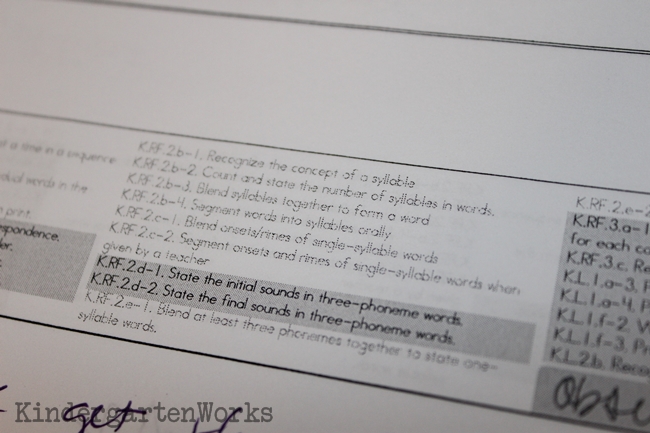
I will have to tweak this template each time a kinder changes groups or change the standards when next nine weeks roll around, but it’s a small amount of time making those adjustments in comparison to writing the same things over and over each week.
I simply print a new set each week as part of my lesson planning time. Many kinders over the years have shown me that they can outgrow the kindergarten standards in reading by late winter and early spring.
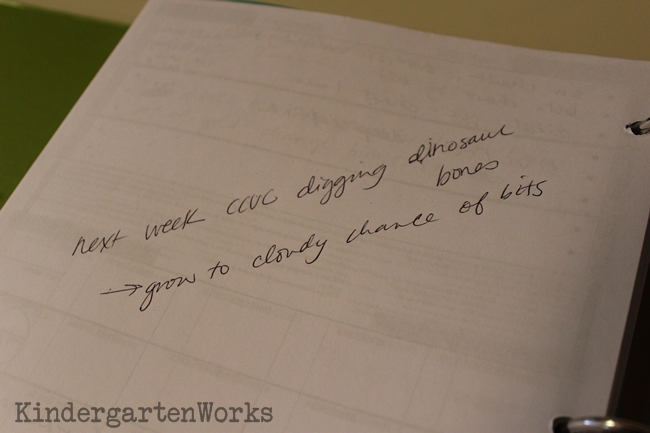
I’ll admit that I don’t really want to go in search of first grade standards and put those into my template, so I’ll keep the K reading strategy standards that apply to this group and add in my own topic headings about vowel patterns, digraphs, chunks and extended strategies that come next naturally.
6. Forget the sheet protectors
If you have anything that you want to keep a master copy of in your binder, simply slip it into a protective sheet and move it all the way to the end of your binder so the edge doesn’t cover up anything else in your binder.
I avoid using them in most of my teaching binders with the exception of keeping a master copy of the running reading log and running record sheet. I simply can’t stand for far they stick out and I seriously don’t want to spend time flipping to look for stuff in a binder.
If I have added dividers, like I do in this binder, I want to be able to see them all without moving anything. That way I can flip once to what I want and move on!
So for me, that’s 1 sheet protector in my binder total. Done.
Whatever you do to organize your guided reading binder, make it so that it works for you! If you like what I do here on KindergartenWorks, then be sure to subscribe today. I look forward to sharing ideas with you weekly.


Can’t thank you enough for sharing your system of how to keep track of which books students have read in a GR group. It seems so obvious now — forms recording books and levels for each child. The forms move as the children progress. I kept each groups’ forms in sturdy pockets and took them into the book room with me, so I could tell right away if I was pulling a book they had read or not. Thanks!
You’re welcome Christie! So glad you’ve found it helpful and I hope it’s a big time saver for you!
– Leslie