Go Away, Big Green Monster! Art Project for Kindergarten
Make a big green monster with your kindergarten class. This fun art project is a way to extend Ed Emberly’s story Go Away, Big Green Monster!
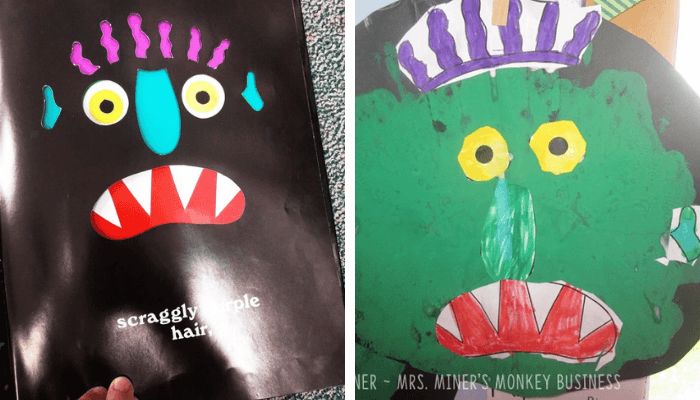
This is a project that came from Krissy Miner. She was a dear blogging friend who shared this on her own site once upon a time.
This activity will require a few basic supplies you probably already have stashed away. So if you’re looking to make a craft or art project to go with the book – here’s where you can get the directions to make it happen.
First, read the story
Okay – so Go Away, Big Green Monster is a short, but unique story. It’s easy to read aloud.
Now, if you’re not familiar with the story, here is a preview of the book.
But you definitely want to read the real, physical book to your class.
There’s almost something just magical about how the monster disappears part-by-part as you turn each page during your read aloud.
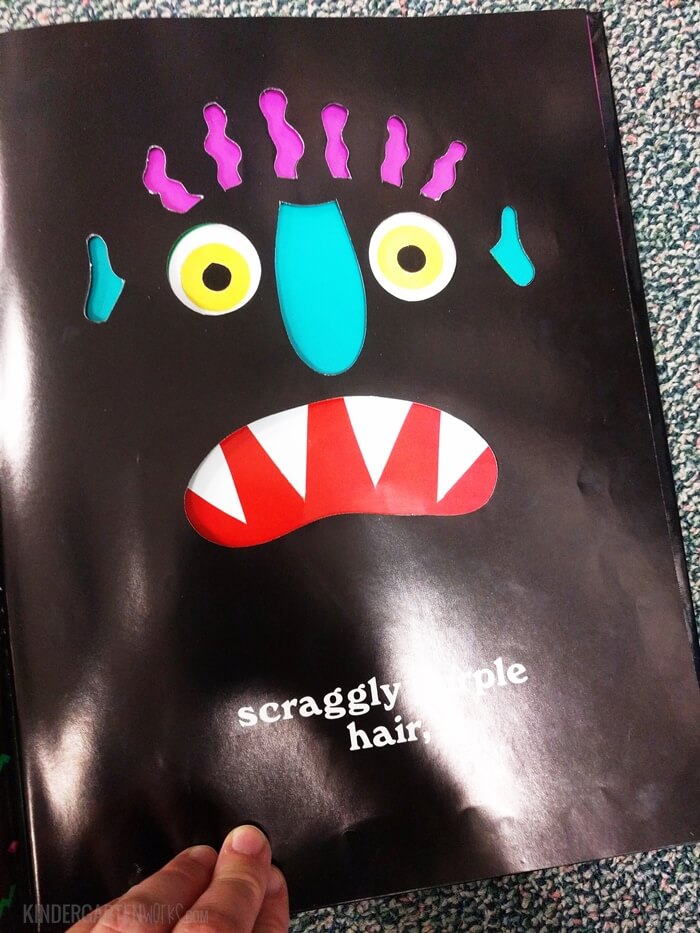
And kinders love it.
Then, when you’re ready to do an extension activity for this book – it’s time to get out the art supplies.
How to make it
First, you’ll want to download this Big Green Monster facial features printable from KizClub. You only need to print the first page with the eyes, hair, nose, mouth, and ears. Print a copy for each student.
And you’ll also want a piece of black construction paper for each student.
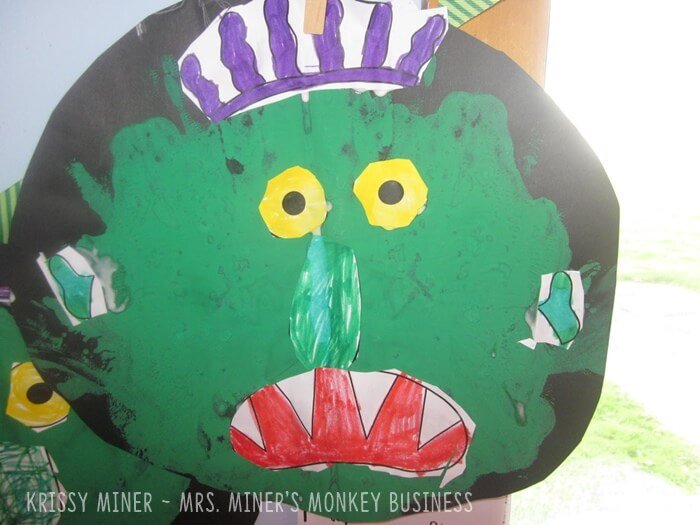
Other materials you’ll need:
- Green paint
- Crayons or markers
- Scissors
- Glue
- Pencil or white crayon
Step 1 – Make the face shape
In the first part of the project – you want to create the green monster’s face.
Every student folds their black construction paper in half width-wise (hamburger-style). And they write their name on the back – in the middle (on the fold) with a pencil or white crayon.
Then you pour a blob of green paint in the middle of their paper. They refold the paper and push to rub the entire thing with their fingers to spread out the paint.
No messy fingers this way.
Then they can open the folded paper and see the symmetrical-shaped face they’ve created.
Set these aside to dry.
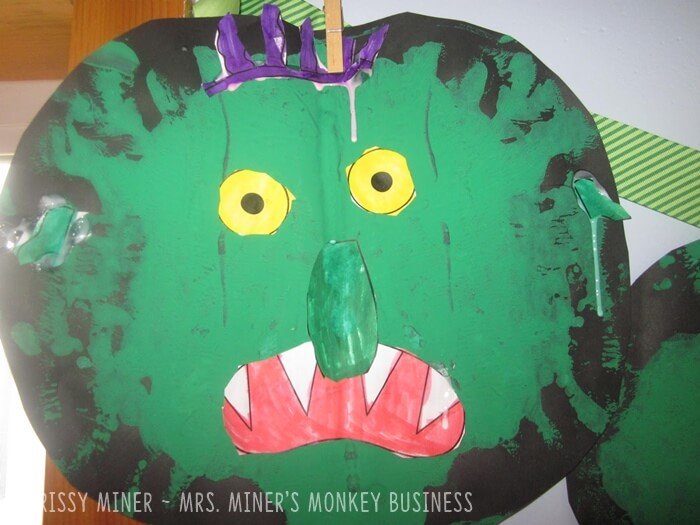
Step 2 – Add the facial features
Now it’s time to work on the facial features. You can do this while you’re waiting for your faces to dry or you can do this on a separate occasion.
Give each student their facial features template you printed. They use crayons or markers to color the parts to match the book.
Color the:
- eyes – yellow
- mouth – red (teeth – white)
- nose – turquoise/aqua
- hair – purple
- ears – green
Then students cut out the pieces.
Step 3 – Assemble
When the face has dried, the teacher or students can cut around the face in a general circle-shape but leaving some black as a border.
Then students glue their colored face parts onto their monster face.
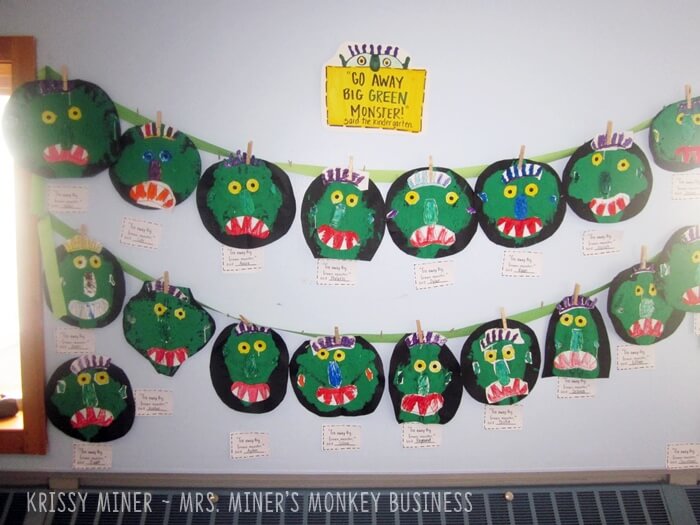
If you want to turn this into a display with student names (like if you’re working on names at the beginning of the year) then have students write their name on this “Go away” template.
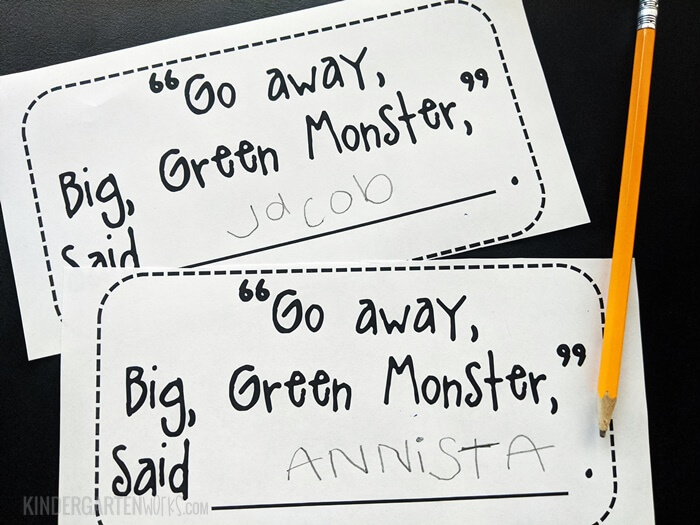
Alternative ideas
If you’re like me and want to make it more of a project than a craft – here’s what you do.
Simply let students pick the color paint (and therefore the color of the monster face) from a few choices.
You could also have students draw and cut their own eyes, nose, ears, and hair without using a template. Be sure to outline the parts with a black crayon, marker, or sharpie for definition.
Check out this “Go Away, Big Color Monster” idea for inspiration.
Let’s wrap it up
These “scary” big, green monsters actually turn out rather fantastic. Don’t you think?
There you have it – an extension activity for this classic read aloud. I’m so glad Krissy shared this with the teaching world.
I think this fun project is perfect to leave for a substitute teacher in your pre-made emergency sub plans – all about monsters! The supplies are pretty minimal and easy to prep ahead of time.
If you like what I do here on KindergartenWorks, then be sure to subscribe today. I look forward to sharing ideas with you weekly.

