Free Describing Hidden 2D Shapes Game for Kindergarten
In kindergarten, students are expected to describe shapes like a circle, square, hexagon and triangle with the number of sides and vertices.
What’s a fun, smart way to get them practicing this skill? A game.
Here is a free 2D shapes game where students feel and describe shapes with a partner.
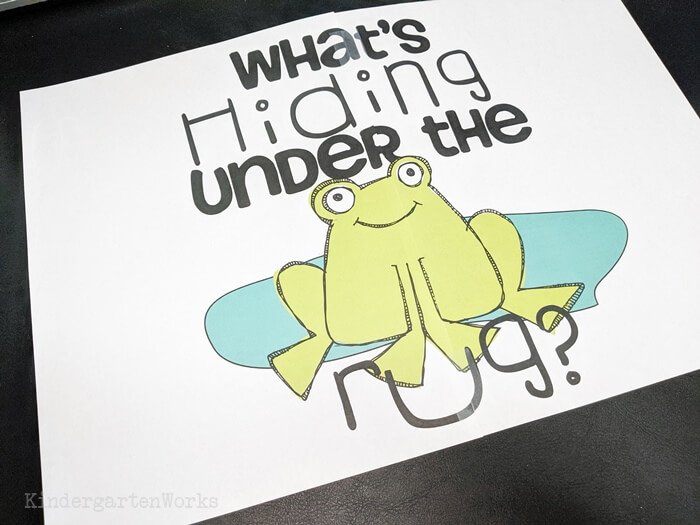
Let me share how I used this “What’s Hiding Under the Rug?” game, how to play it and how you can make it for your classroom.
First off…
Since the standard K.G.4.a says that my kinders should “Describe two-dimensional shapes to identify their various attributes, including vertices, sides, corners, and length of sides” then this is what we will practice.
But, we will do so in an age-appropriate and fun way.
Remember – making learning the fun and the cool thing to do – is what we do here.
Don’t shy away from vocabulary
Okay, I have a confession.
I will no longer teach using only the word “corners” when I’m teaching students how to describe shapes.
The moment I used the word vertices (whether I’m completely correct or not in my terminology), I had their attention like no other since they had never heard that word before…
Corners? They tuned out and I worked twice as hard to teach the same concept.
So use corners, vertices, edges and sides. Use the words they need to be successful at this skill.
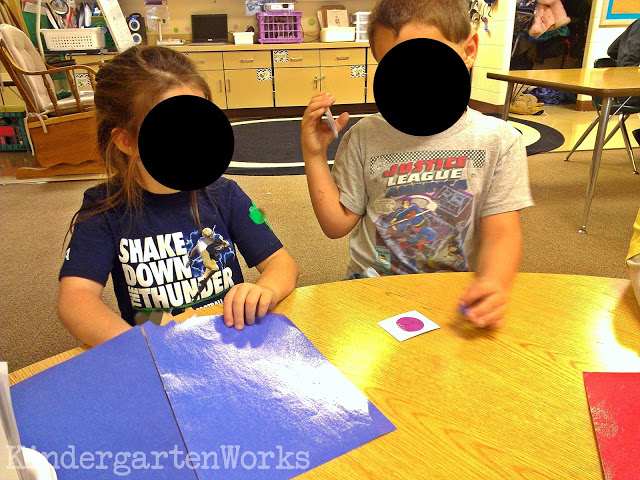
I introduced that vocabulary in the third week of school when we created shape anchor charts together and sorted shapes by the number of vertices.
Transition to describing independently
They’ve heard the vocabulary, they’ve practiced counting sides and vertices, sorting shapes and they’ve even created a mini-booklet with me to write about each shape’s attributes.
This week, while in small groups for math time, we played “What’s Hiding Under the Rug?”
It’s time to step it up.
Now — they need to practice verbally describing shapes on their own.
This game ended up being a great informal assessment of where they are at in their describing abilities.
It also pointed something out to me that I’ve seen every year: how to describe a square differently from a rectangle can be tricky.
How to play
This game is super simple and needs only a few materials you probably have on hand.
Students will take turns finding a hidden shape based on the descriptions of their partner.
So you’ll need:
- Something to hide the shapes under (bandana, 11×17 paper, manilla folder, etc.)
- Foam* circle, square, rectangle, hexagon and triangle shapes
*I highly recommend using foam shapes or manipulative ones versus paper shapes so that kinders can “feel” the sides and vertices since it has a little depth.
One player describes a shape from the pile of shape cards by telling the number of sides and vertices, without naming it.
For example, “Find the shape that has 1 curved side and 0 vertices.”
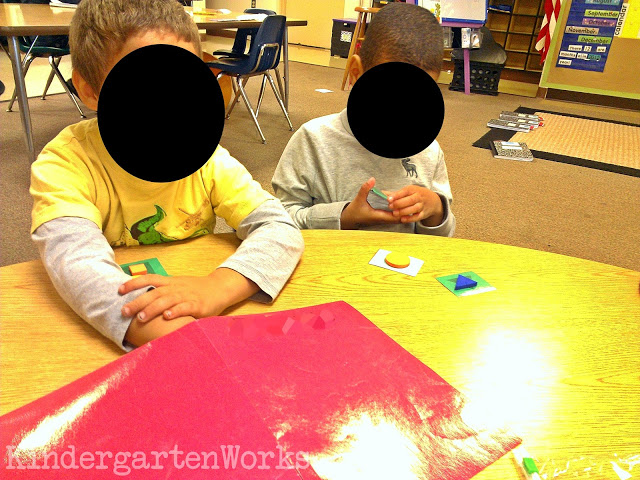
The other player reaches under and feels for the correct shape based on that description.
If they pull out the right shape and name it, they get to keep the card and shape as their point.
If they don’t produce the correct shape, then the shape goes back under and the card goes back in the deck for another turn.
The partners take turns and the count their points at the end.
That’s it!
Super simple, but it gets them talking and describing shapes.
I personally liked to do this in a small group setting so I could listen to their descriptions and offer support where needed.
Are you ready to make it for your class? I’ve got your back.
How to make this game
Here’s how to make this hidden shapes game called “What’s Hiding Under the Rug?” to describe 2D shapes:
- Download this free describing 2D shapes game. You agree to these terms of use by doing so. [downloading help]
- Print the shape cards, laminate them and cut them apart.
- Print the hiding mat on 2 pages, and trim one side so that the picture will line up. Laminate pages together and crease down the middle so it will fold for easy storage.
- Print the organization label and stick it on the front of a Ziploc bag with clear packing tape.
- Grab your shape manipulatives and place into the Ziploc bag with everything else you printed.
And you’re ready to use.
I hope these tips will help your kinders better describe their 2D shapes in a fun way and be on their way to having this skill mastered.
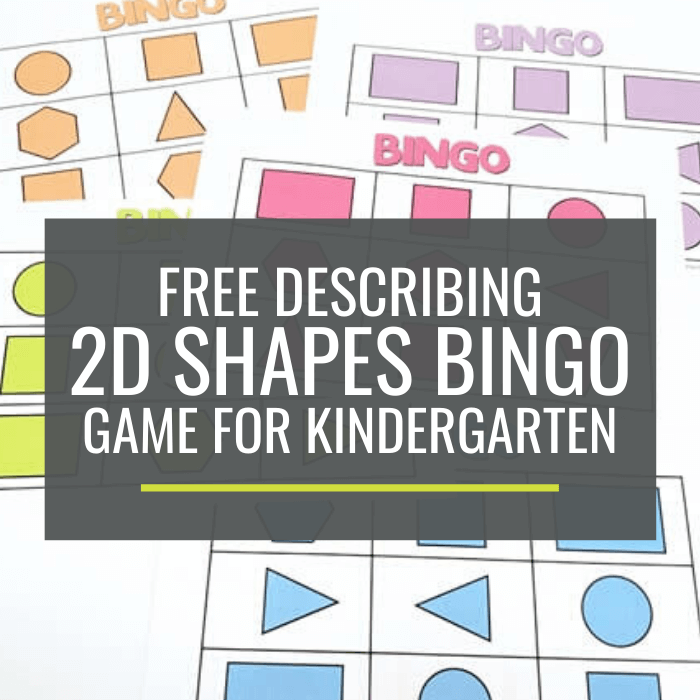
You may also love this free describing 2D shapes bingo game you can make for your kindergarten class.
If you like what I do here on KindergartenWorks, then be sure to subscribe today. I look forward to sharing ideas with you weekly.


This is such a great idea. And I love your book and cards! I do a similar thing, but we use a paper bag instead of a rug. This will be a great way to change it up. Thanks for sharing such wonderful ideas!
Using a paper bag is a great way to play! Thanks for sharing Amy!
– Leslie
This is great work and easy to use. Is there any way that the original shape work with the bingo be altered to show vertices instead of corners? I appreciate everything you do. Thank you for your way of breaking down the lessons to make them easier to teach and for the children to learn.
Thanks Ms. Dora! At this time I am not updating the previous pack, but thanks for letting me know of your wishes. I greatly appreciate your compliments and time you took to share your comments!
– Leslie
Thank you for sharing this- what a great resource!
~ Amy
Thanks for taking the time to comment Amy!