How to Make a 3D Tree in Your Classroom
Last year I had my palm tree to create a cozy reading area for my classroom. But, I noticed it was starting to look dead. The leaves were fading and the trunk had a few puncture wounds, so I decided it needed a face lift.
The entire tent top came down and it got a good paint job and I added modge podge around the leaves to give texture, depth and add a little shine. That really brought it back to life!
Then, I knew I needed to tackle the trunk.

How To Make a “Scrunchy” Tree Trunk
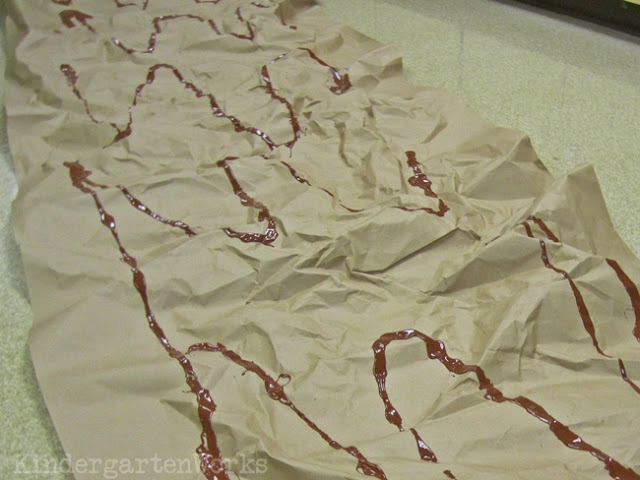
Here is my tutorial of how I made the trunk in pictures. First, I started with brown bulletin board paper that I use as backgrounds on all of my boards. Its pretty much like giant craft paper. I decided to go at least twice as long as my old tree trunk since I wanted to scrunch it up and give it a 3D effect.

Then out came the paint. I used brown, gold and a texturing additive. I painted the entire thing with a kiddie brush, because it was the largest brush-like thing I had around.
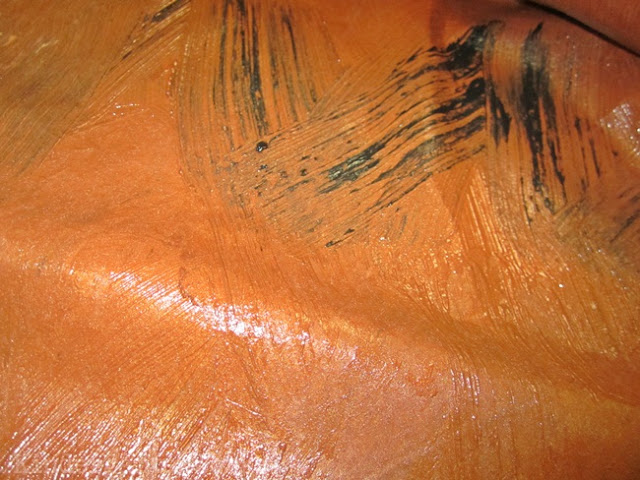
And then I blended the black with the brown to go along the edges to darken and give depth.

I scrumpled up the paper to let it dry overnight because I didn’t want it to dry and then rip when manipulated later… this was my thinking. {I don’t know if it really had any impact or not}
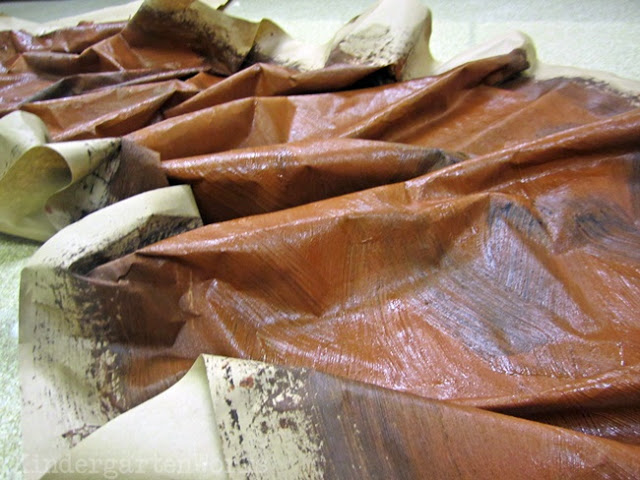
And when I was ready to assemble, I cut strips of double-sided sticky tape (I think it originally came from a wall paper company or something). These strips help it adhere to the wall, bulletin board and tent tree top. {Somehow}

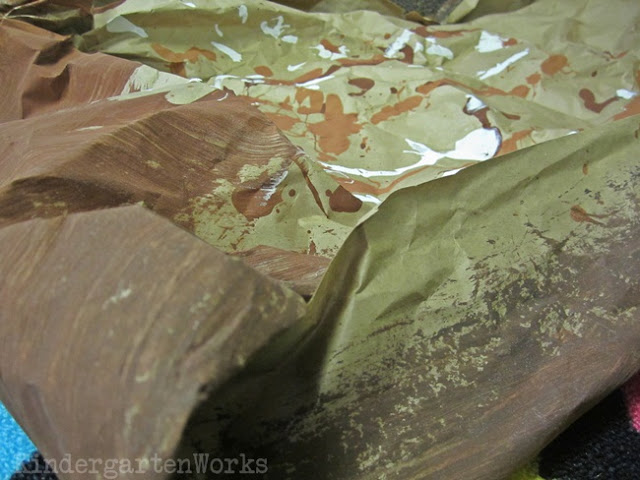
I scrunched as I added tape to the bottom edges (not the base… that came last) and adhered it to the wall and bottom of our bulletin board. It was really sturdy and this part went fast!

Then as I worked my way up the trunk… more tape on the sides, a lot of scrunching…
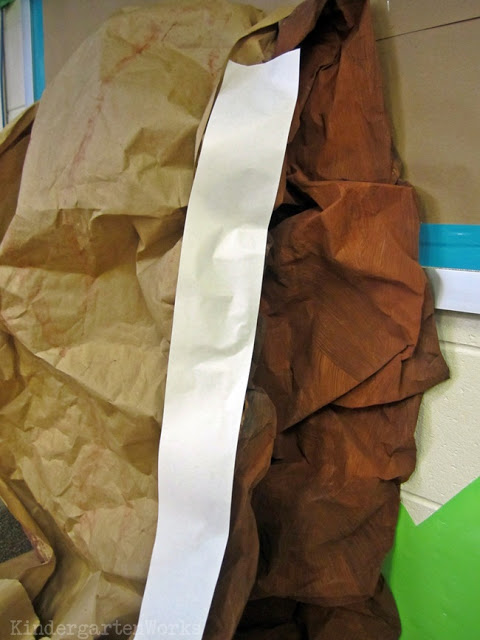
And I even taped in a few extra paper pieces {ripped and crinkled} to help keep it standing out from the wall adding to the 3D effect.

And at the top, I added one last piece of tape. This part I knew would be heaviest and be the most difficult adhering since it would be up inside the tent, and mesh wouldn’t hold to the tape so well.
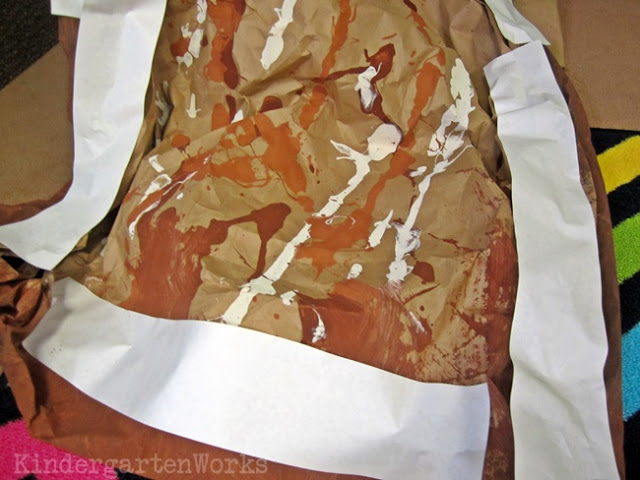
I began to curve the trunk as I made my working from the bottom up. And to my surprise, the edges wouldn’t stick to the mesh at all like it had when it was a flat piece of paper {too heavy} so, a quick solution was to wrap the taped edges along the tent legs that I covered in paper long ago to look more like branches. That bonded really well!
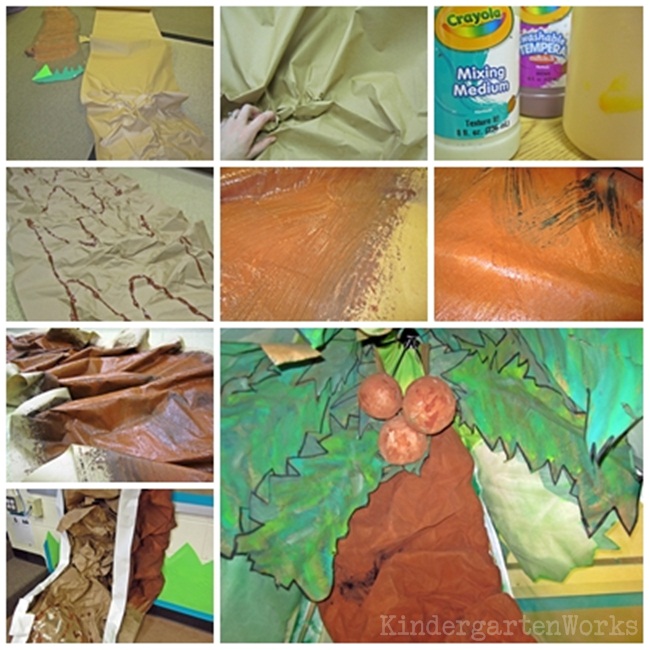
I finished by tucking the top up under the leaves and the leaves and the paper mache coconuts fell beautifully down on top to hide any seams. I love my tree! The “scrunchiness” of the trunk really just makes it. {squeal}

The last item was to trim the excess at the bottom and to seal the seam with duct tape. That way picky fingers who are down there reading will be less likely to find any places to pick.
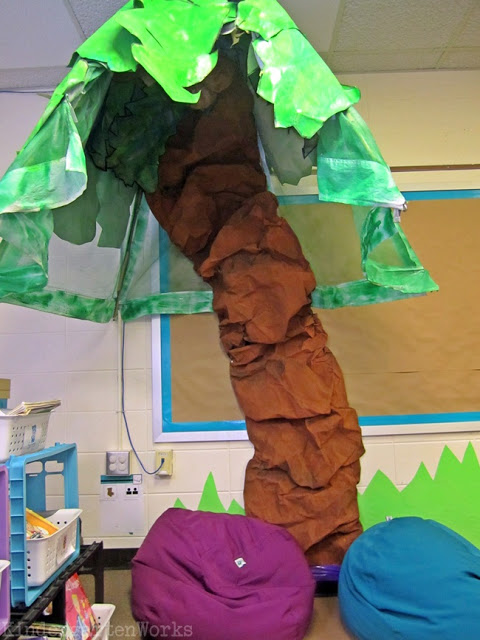
This may be the only part of my room in which I went over the top, but in small doses, I can handle it! What is your thing that you’re willing to spend time and attention on year after year? If you like what I do here on KindergartenWorks, then be sure to subscribe today. I look forward to sharing ideas with you weekly.


This is so pretty! Do you have any suggestions for 3D pine tree/s ? Want it for a birthday coming up soon. Thanks.
Leslie, thanks again. Your inspiration is egging me on to have an exciting and productive year – 3 weeks until we start in the UK! Oh, I have taught for donkey’s years, it’s ‘so fun’ (kiddy words) to be feeling very motivated. Shirley
Hey thanks Shirley! So great to hear from you. And I’m pumped for you – enjoy the ride of motivation. Hope it’s super productive for you. Best wishes as you get ready. I’ve got 1 more week.
– Leslie