Document Camera and Projector Setup & Organization
Squeezing the life out of every bit of technology that I have in my classroom seems to be my goal over the past few years.
Here’s how I organized my whole group teaching space when we finally got a document camera and projector.
I’ll show you some photos of how I keep what’s most needed at my fingertips!
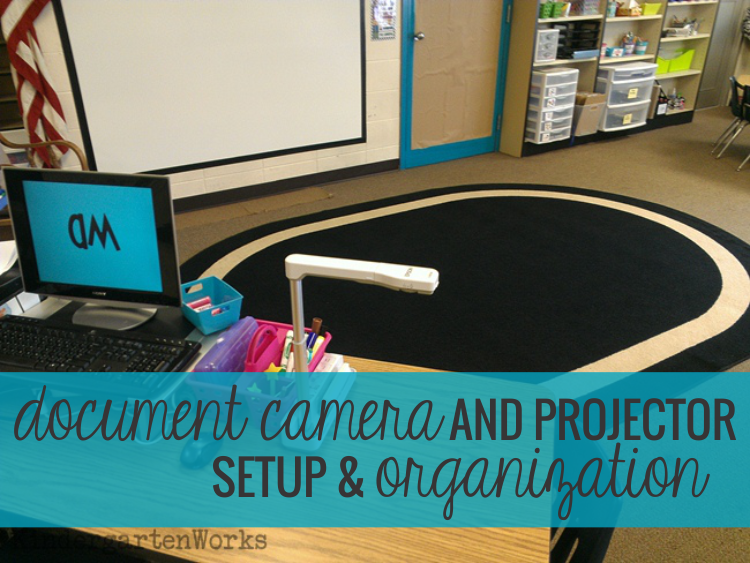
For the longest time, my classroom had one {yes, just one} computer and it was designated for me to use. Which I did.
All.the.time.
I don’t know about you, but I find that I’m using my computer at almost every prep and planning period for emails, printing digital downloads (since I don’t save paper copies anymore) or creating things.
I do use my planning binders too, mind you, but I don’t really go without my computer for too long. That one computer was the extent of the technology that existed in my classroom.
At the end of the year, two years ago, funding came in to purchase a document camera and projector for my classsroom. {{thrilled}} But with that came new challenges.
I would need to rearrange furniture and figure out a display wall since I didn’t have a white board in my classroom.
I came up with a basic setup that works for me – let me show you!
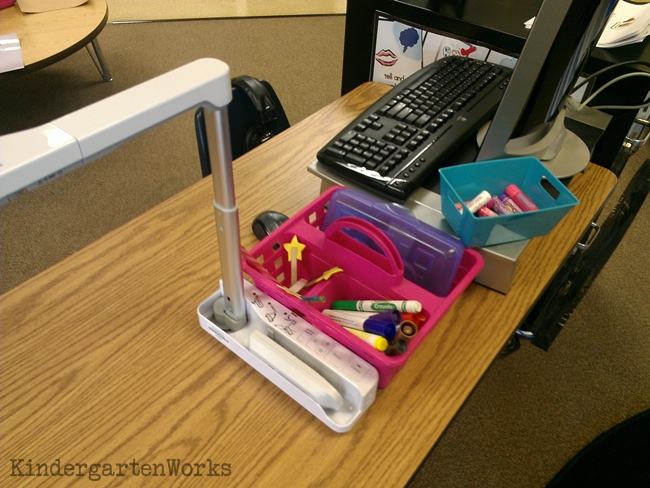
Here is my document camera.
It can fold up into the base {which is where the remote currently is being kept} but I just leave it set up so I don’t have to mess with any settings during the day.
The power cord is wedged underneath the pencil basket and the computer monitor stand so that it doesn’t get disturbed by kinders who use this computer during math zones or literacy centers.
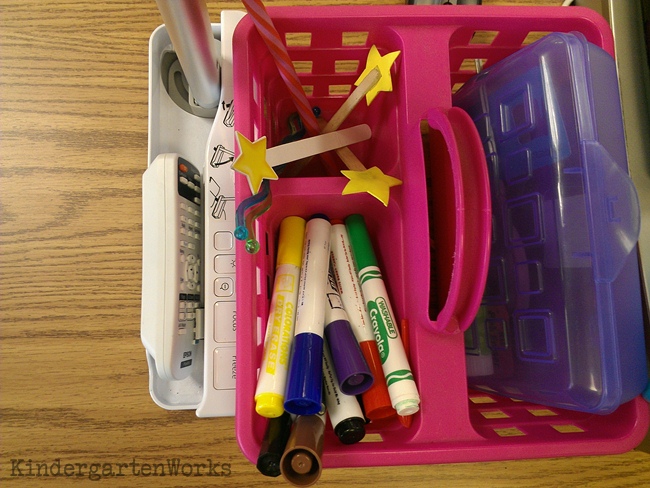
The camera, remote and pencil basket hold are my most-used items so they always stay out.
The pencil basket holds pointers, pencils {not shown}, dry erase markers, regular markers and a pencil box of sometimes used items that are small and could get lost in the basket.
I keep scissors, glue an eraser and crayons in here for modeling purposes.
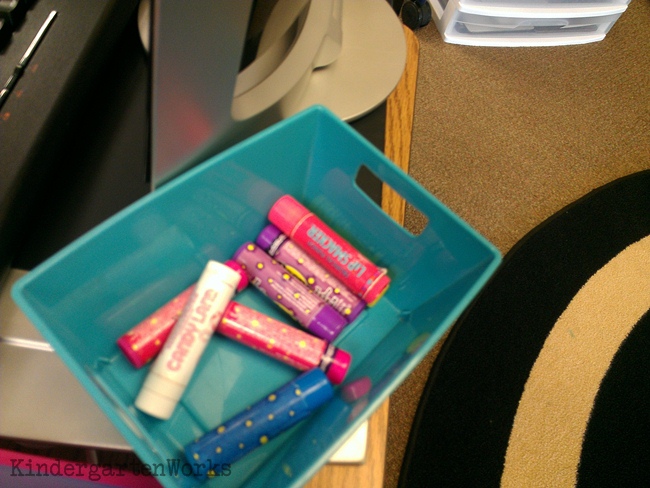
Smelly spot chapsticks are kept nearby so that I can use them to my advantage during whole group work and keep an eye on them during the rest of the day.
The computer is also connected to the projector so I can switch from displaying the camera to displaying the computer screen with the remote control.
When students model, instead of using the board to click on as they would on a smart board, they simply come up to the computer and perform the action there with the mouse.
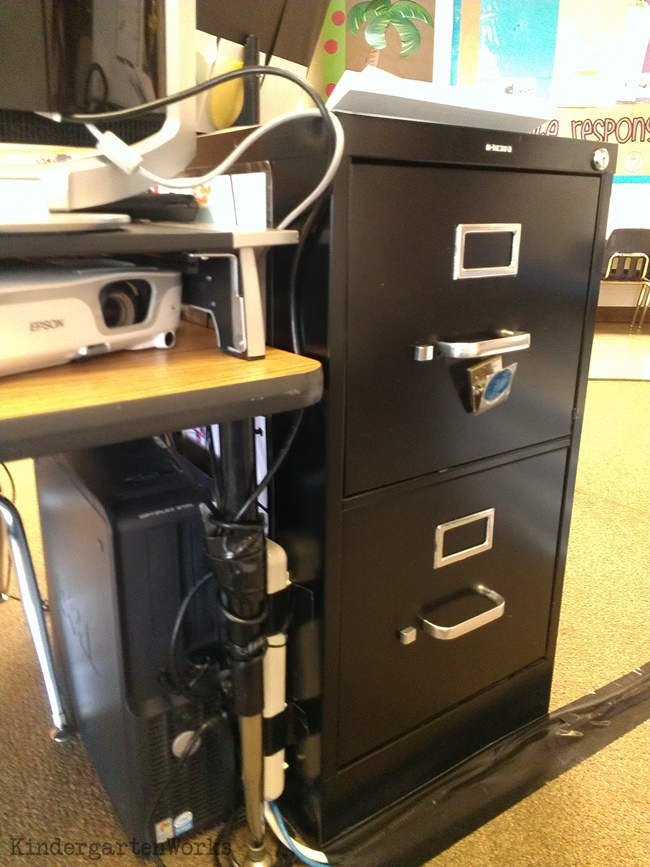
On the opposite side of the little table, I have the computer monitor, a monitor stand/raiser which helps me cover up the projector (which is the more expensive and finicky piece of technology), the computer tower, a surge protector and my filing cabinet.
This side is rather ugly but makes everything functional.
I used a good amount of (affiliate) gaffer’s tape to keep everything in place and to keep it safe for kinders to sit with their backs up against. The gaffer’s tape works wonders for keeping cords in place on the floor and doesn’t damage carpets.
It’s the same type of tape people use for productions or in sound studios so it won’t damage anything, but it will hold stuff in place. You can purchase it at a local Guitar Center.
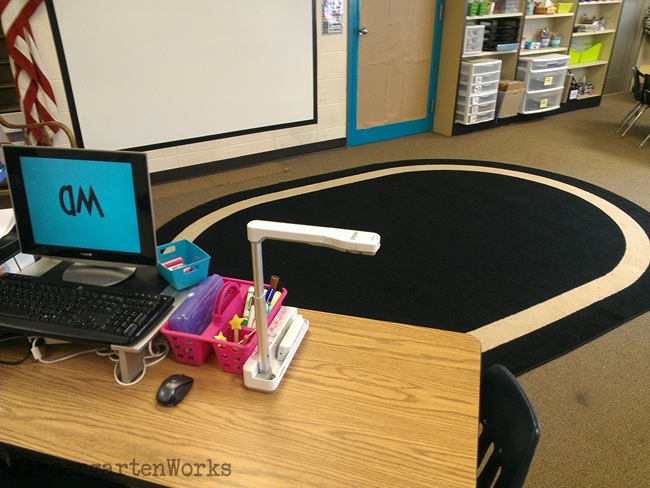
This side is much more aesthetically pleasing.
You can see that I sit in the chair on the end and use the open space under the camera to put items for modeling. To the left is my easel and chair with space between that and the filing cabinet for improved classroom flow.
The white board?
Remember I said that I didn’t have one?
Well, this is my solution –
I purchased a $12 shower board from Home Depot and had them cut it to length. I used gorilla tape to adhere the edges to the wall {well, that might peel paint, but hey, you didn’t give me a whiteboard so what else am I supposed to do} and it holds extremely under the weight of the board going on a year plus. I can use it as a dry erase surface though it’s mainly just used as a projection surface.
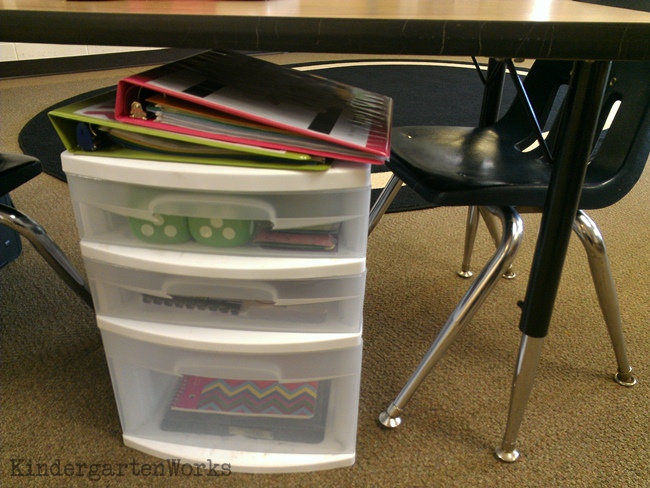
Underneath the table is where I maximize on storage.
I keep two chairs – one for use with the document camera and one for use with the computer. There is just enough space for a tower of 3 drawers to hold my larger items and for holding manipulatives.
I keep my teacher calendar math binder, my daily alphabet chart and sight word chant and word work items in the second binder.
Plus I keep my math journal and other manipulatives that I might need for regular modeling nearby.
I simply reach down to the left (when seated at the camera) and pull out/return what I need which helps keep things organized.
If you like what I do here on KindergartenWorks, then be sure to subscribe today. I look forward to sharing ideas with you weekly.

Thanks for posting this! It’s almost as if you read my mind! 🙂 We have just received a document camera in our classrooms and I was flabbergasted about how to get things set up for easy use…let’s face it! If it is a pain to set up every time then I’m not going to use it unless the principal is coming to observe me! Haha! I can DO this!! 🙂
You can do it Amy! I’m excited for you that you have such a new piece of technology. I did love not having to create everything so huge for kinders to see for teaching purposes… game changer! There’s a good learning curve with making it a seamless part of your day but you’ll get there! Do you have a remote control – that can be a golden item!!
– Leslie
Leslie,
I enjoyed your detailed post on how you organize your document camera/computer table. Do you like having that doc camera/computer table at the back of your group? I have mine up front and to the side of my group.
Hi,
Well, I don’t really know anything else. If I could have it up in front it might change some things for the good, but we make it work. I like being able to see what my kids have in their laps as they work in front of me (like during our calendar binder math time). I don’t quite have the ability to put it up front, so you’re lucky!
-Leslie
Thank you for responding!