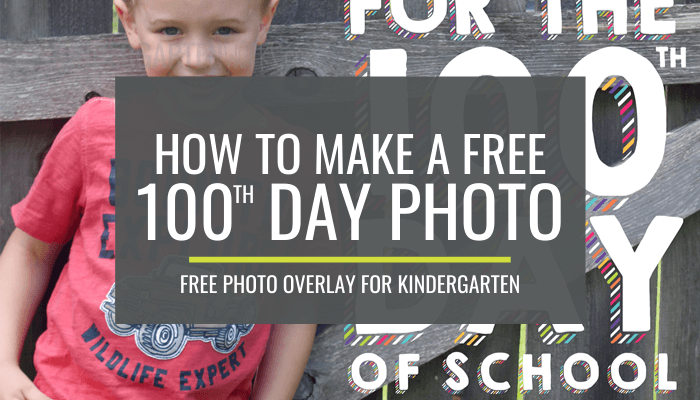
How to Make a Free 100th Day of Kindergarten Photo
Celebrate the 100th day of school with a cute, free 100th day of school photo. Use this free photo overlay to make pictures of your students extra special on the 100th day of kindergarten.
While I like to plan a not-so-crazy 100th day of school (or really how I plan any non-major holiday), it can be fun to sprinkle in a few extra-special touches for special school days.
This overlay is a perfect extra-special touch.
Here’s how you can make your own 100th day of school photos and get the free overlay too.
Don’t know what an overlay is? No biggie – think of it like a sticker that goes on top of your photo – only you put it on top of the photo using your computer.
I’ve made overlays for mother’s day, personalized ones for the end of the year, overlays for our ‘S day’ class photo, and ones for each month of the year.
Step 1 – Prep for the 100th day photos
The basic idea is that you take a photo of your students on the 100th day of school – off to one side of the camera’s frame.
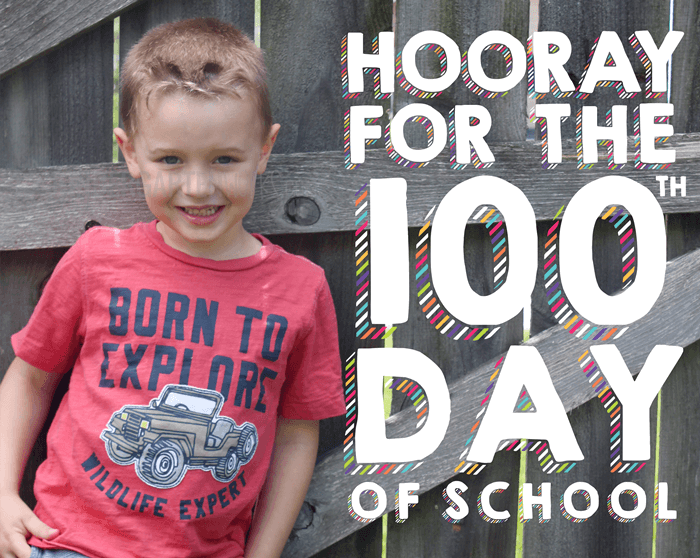
That way the empty space can later be filled up with these cute white and colorful sprinkle words that say, “Hooray for the 100th Day of School.”
Think of it as a digital sticker that goes on top of the photo before you print.
Here are my tips for taking cute photos:
- position on a neutral background with texture (bricks, fence, siding, etc.)
- use natural light when possible (next to a window or school entrance or go outside)
- position student off to one side of the viewfinder and leave lots of open space/background
- get an up-close perspective (like the mid-chest and up)
Taking photos on the 100th day of school is the only part that you actually have to do on the 100th day. The rest of the work can be done later.
Step 2 – Add the 100th day overlay
It’s time to add the overlay to your photos.
Start by downloading this 100th Day overlay onto your computer. [terms of use] [downloading help]
Now, get your photos from your phone onto your computer in any way that is easiest for you.
Now it’s time to create your whole class’ set of pictures at once.
While I’m all about making these cute photos, I don’t think I’d do it if it took me forever and a day to pull it off.

So here are three different ways that you can add the overlay on top of your photos:
I’ve included a helpful hints page in your download with a link to videos and more detailed directions on any of these three ways to help you get it done easily with the option of your choice!
Do it online
The first way – you can use a free photo editing website like canva.com or Google Slides. You will:
- Upload a student photo
- Add the overlay on top
- Save it to print later
Do it with Powerpoint
You could also use a program like Google Slides or PowerPoint. This method is handy because you can keep the overlay in the exact same spot while just changing out the student photo background.
A little faster and this option I recommend most.
Here you essentially:
- Make a template page with student photo as your background and overlay on top
- Duplicate it to make as many pages as you have students
- Replace background student photo on each page with new student photo (right click > change picture)
- Save it to print later
Do it with a free program you download
And the last option is one I’d choose for myself. It allows you to make all of your pictures at once (so literally in one minute) but feels less straight-forward since it has lots of other options as you’re working that can be confusing at first glance.
But, for this option, you can use a free program called PhotoScape to get these pics done.
You will:
- Select all of the student photos and drag them into the list area
- You will select the overlay and place it
- Click to finish and it will create all of the photos with the overlay in the exact place you set it to print later
Right, now comes the final part!
Step 3 – Print or share the 100th day student photos
Print the student photos that you made on any printer you have available to you. Color prints look great of course but these would be sweet even printed in black and white.
Or skip the printing and share using your favorite method of connecting with parents (email, SeeSaw, etc.).
Let’s wrap it up
You’ll be pretty quick at this after you do two or three and you’ll wonder why you haven’t been making photos with digital stickers like this all your life. {wink}
In that case – you’ll want to check out how to get cute student photos all year long with my monthly digital stickers that are awesome.
I hope these make you a happy teacher for such a quick and simple, unique photo moment for the 100th day of school.
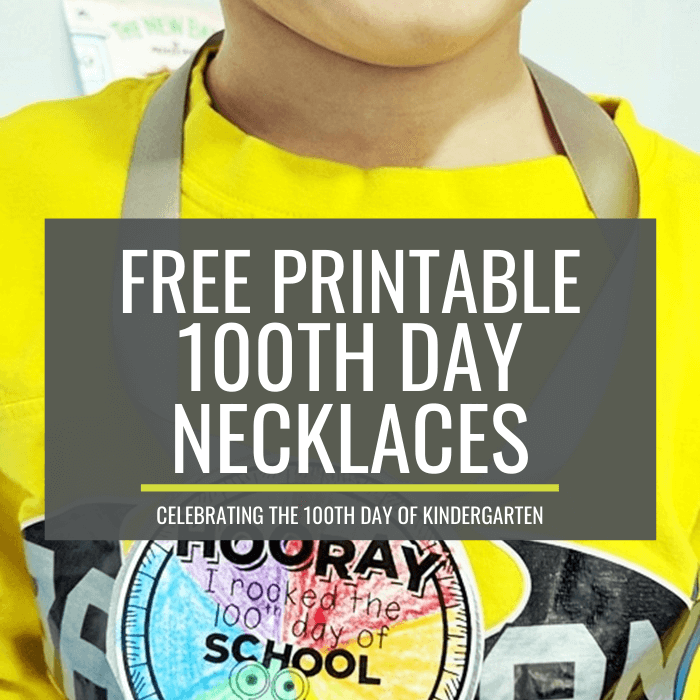
If doing so much on the computer isn’t your style – or if you’d rather just snap a photo and print them – then I’ve got your back. Take a photo of your kinders wearing their free 100th day of school necklaces, 100th day headbands or holding a 100th day certificate and you’ll be set to go!
If you like what I do here on KindergartenWorks, then be sure to subscribe today. I look forward to sharing ideas with you weekly.