How to Digitize Your Teacher Files (and Why You’d Want To)
A little bit of tranquility set in when I digitized my files. I added bonus storage with my newly emptied filing cabinets and there’s something to be said for having less.
If you like feeling organized, you’ll never want to look back. It’s a bit like going minimalist and it is very freeing… seriously.
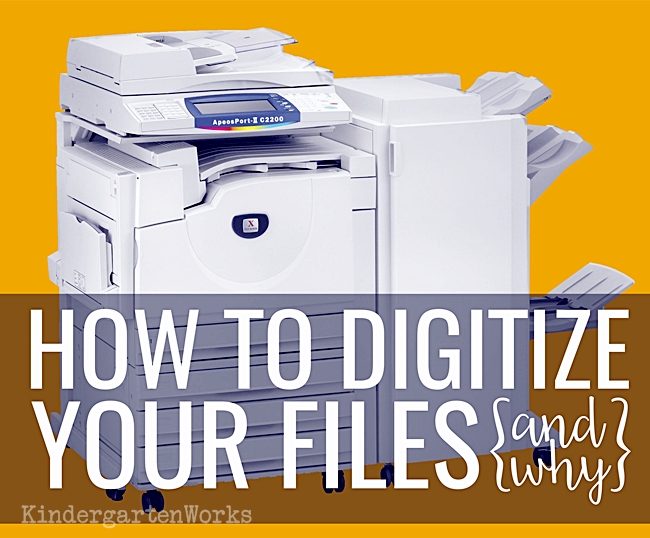
Here’s how I digitized my files and suggestions from others who’ve done it too. I’ll try to share as many suggestions as I can since we all work with different technology.
Hopefully you can find a solution that’ll work for you!
Digital hype
Let me be transparent and share that I totally am a computer girl.
However, I still value paper and pen.
I totally relied on it to sketch out my quarters when planning math, a paper calendar when planning out my school year and I even used paper lesson plans.
It’s just me and the way I work – but I did use the computer to make templates for all of those things so I never had to write more than necessary.
I like using technology to save me time and work smarter (in the long run) but I’m not cool with using technology just to use it.
I consider that hype, not productivity.
So, when I suggest digitizing your files I’m recommending digitizing the paper that otherwise could be considered clutter. You don’t have to make every piece of paper that comes into your teaching life into a digital document, nor would you want to.
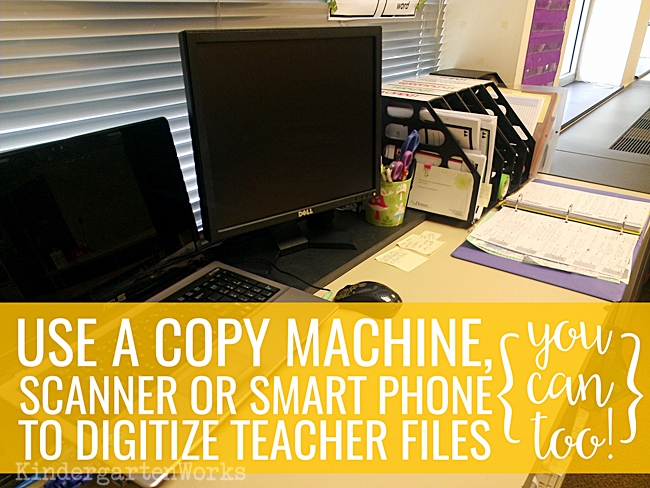
Consider: what would be easier to view, print or share at your fingertips?
Here are three ways I can recommend you digitize your files – go with what resources you have available to you.
1. Use a copy machine with a scanner function
Our school had a copy machine that was connected to our school’s network. We could print to it which made it also very cool.
I kept seeing these other options on it {while staring at it… waiting patiently for something to finish pumping out} that I had no idea what they did – but when I saw the words “PDF” I was totally intrigued.
I figured out there was the capability to send an email of whatever was just scanned. Way cool.
I eventually figured out how to type in my school email as a regular address, so I could send whatever was scanned to myself with just one click.
The key here is to investigate your machine.
I was the only one in my school to know/explore this function… not even our tech person knew it was possible.
Use the SCAN function (not the COPY function). Look for a destination that allows you to type in an email address. Use the feed tray on top of most machines if at all possible to save you time. It’s a great way to batch-scan a whole set of papers.
When you scan, there aren’t any copies made. The machine is simply creating a PDF version that is very computer and printer-friendly and sending it to the destination of your choosing. You may also have the ability to scan in color which can be cool. If the copier wasn’t connected to our school’s network, it couldn’t have sent files anywhere – so this would be a key thing to investigate on your end.
2. Use a traditional scanner
If you have access to a scanner, you can totally create PDF files!
You generally can change a setting (on most modern scanners) when you go to start up your scanner to scan as a PDF instead of an image. This is important because a PDF will ignore the white paper background of the paper.
If your scanner will only scan as JPG image files, then here is a way to convert your files. (See method #3 in the linked tutorial for how to do it)
3. Use a smartphone
You can use your phone with a scanning app to digitize files.
This will definitely take longer than using a feed tray on a copy machine but you will still get the results you want!
It’s crazy how a good app will take a photo and turn it into an easy to use computer file.
The key is to get one that will allow to easily send your files that you create to your favorite cloud storage – you don’t want them stuck on your phone or filling up your phone’s storage.
My favorite app is to use the Dropbox app on my phone. There is a great scanning feature that creates crisp PDFs and you can even do multiple page ones. But, I keep all of my files on Dropbox, so I choose this app as a convenience feature since everything is already in the location I want it to be once it’s scanned.
I have personally used CamScanner to digitize my family’s personal tax files so we are officially filing cabinet free at home {phew and yippee}. I have used it regularly and it worked great. Everything gets sent to my dropbox.
Chalk Dust Diva shared that she prefers Genuis Scan and highly recommends it as she is now paperless! You simply email yourself the files.
Some free apps you might want to look into are Tiny Scanner and Fast Scanner though I haven’t personally tried them. But from the descriptions look like they would help you accomplish the task at hand!
Why go digital
If you like using your computer to find ideas on Pinterest and teacher resource sites like TPT {and blogs like this one, of course} then you may find this right up your alley.
A gentle reminder – that while it’s totally for you it may not be the solution for your fellow grade-level team members.
Going digital isn’t for everyone, nor does everyone have technology access that makes it a good fit.
So, why go digital?
You probably already have a lot of files on your computer (or cloud storage) and so adding files to them makes it super convenient to have everything in one place.
You don’t have to remember if it was a printed example or a PDF file.
You only ever have to go into your filing cabinet to get out physical games, books, etc. (Or you can ditch your filing cabinets all together)
Having less paper in your teaching life is awesome. Truly.
If you might even have to entertain the idea of moving a classroom someday… consider how cool would it be to make lugging paper one thing already crossed off your list?
You’ll love the absence of the paper. It’s a fantastic feeling.
Print your files to a printer (like our copier did) – you’ll save yourself a step. Or four. And that’s totally worth it in my book.
Want to see how I organize my digital files? Here are 4 Ways to Organize Your Digital Teacher Files.
More Organization
- 3 Ways to Use Filing Cabinets When You’ve Gone Digital
- How to Organize Big Book Pointers
- How to Organize Kindergarten Math Teaching Materials
If you like what I do here on KindergartenWorks, then be sure to subscribe today. I look forward to sharing ideas with you weekly.


I am very happy to find this site. I am a teacher with 4 more years to retirement. But, I won’t stop teaching then! I’ll do tutoring or find some other type of job. I have to move & downsize due to unexpected situation. SOON. I did a major purge of my materials 14 months ago (my last move.) But I kept a lot and since I am an Itinerant teacher, I have to keep everything at home! I am old-school, still have papers filed & labeled and lots of resources that I may have copied from someone, and is now put into 3 ring notebooks! I need to scan it all and must digitalize. I’m scared and need help! I also need to know how to organize digitally. I can look at my organization that I have at home. The file cabinet drawers are labeled and then each file is labeled. I know where to turn and to find something fairly quickly. It is visual. My eyes can scan my sources quickly & I know how to find things! I am used to it. HOW do I train my brain? HOW do I “make it work” to scan & digitalize all of this into my next stage? Help!!
Hi Jeanie,
I would totally create folders on your computer that match your filing cabinet drawers and your file folders. That way you are already using what you’re familiar with – just recreating it digitally.
So, I’d take what you have in your 3-ring notebooks and start making piles. Sort what’s in those notebooks (if they aren’t sorted already) and make piles of things that would naturally go together in a file folder in one of your drawers. Then you can start a computer folder named with what categorizes that pile and begin scanning and putting those papers into that file. Name them if you think it’s appropriate or just give them numbers.
For example, you could have a math folder. Then inside that math folder, you have 4 folders. One named for each quarter of school (when you’d generally teach the skills). Then inside each folder, you’d have all of your pdfs that you scanned – either named or by number. You could also organize them by skill type if you don’t want to sort them by quarters or when you’d teach the skill.
I would also have a reading folder. But for me, since I teach those skills all throughout the year, depending upon the groups, I would have multiple folders inside the reading folder. MY folders inside would be skill-based like: letter names, letter sounds, beginning sounds, sight words, advanced sight words, ending sounds, medial sounds, blending cvc, onset/rime. Then inside each of those, I would probably keep my games or worksheets matching the skill.
It can definitely be a big job to digitize but having everything at your fingertips on the computer is such a huge deal! You’ve got this!
– Leslie
I started the daunting task of transferring my paper files into digital this past year. I hope to finish soon, because I really see the value in it. Thanks for the tip!
Sure thing Karen – all the best to you. It can be tricky to get started, but you’ll quickly find a groove 😉
– Leslie